
Install Surveillance Camera System: Easy Step-by-Step Guide
- Бонус за регистрацию онлайн казино
- Sep 4, 2025
- 17 min read
Before you drill a single hole or run any cable, the success of your entire surveillance camera system hinges on a solid plan. I've seen countless installations go wrong because of poor planning, leading to frustrating blind spots, useless footage, and having to redo the whole thing. Think of this stage as creating the blueprint for your security—get it right, and the rest of the project will fall into place smoothly.
Laying The Groundwork For Your Security System
The very first thing I do on any job is a thorough site survey. You need to walk your property and start thinking like a potential intruder. Where are the easy targets? This isn't just about the front and back doors. Look for basement windows, second-story windows that are surprisingly accessible, or any other weak spot.
At the same time, you'll want to identify the high-traffic zones you absolutely need to monitor, like your driveway, the main walkway to your front door, and any side gates.
Identifying Vulnerabilities And Vantage Points
Mapping out where each camera will go is a mix of art and science. The goal is simple: get maximum coverage with the fewest cameras possible. You're looking for the sweet spots, the perfect vantage points.
I always recommend starting with these key areas:
All primary entry and exit points: This means every single door—front, back, side, and patio.
Ground-floor windows: Pay special attention to windows that are hidden from the street or shielded by landscaping.
Driveways and parking areas: Keeping an eye on vehicles is a top priority for most people.
Detached structures: Don't forget that shed, garage, or workshop. They're common targets.
This is a great visual that shows how you should be thinking about camera placement and angles for a typical home.
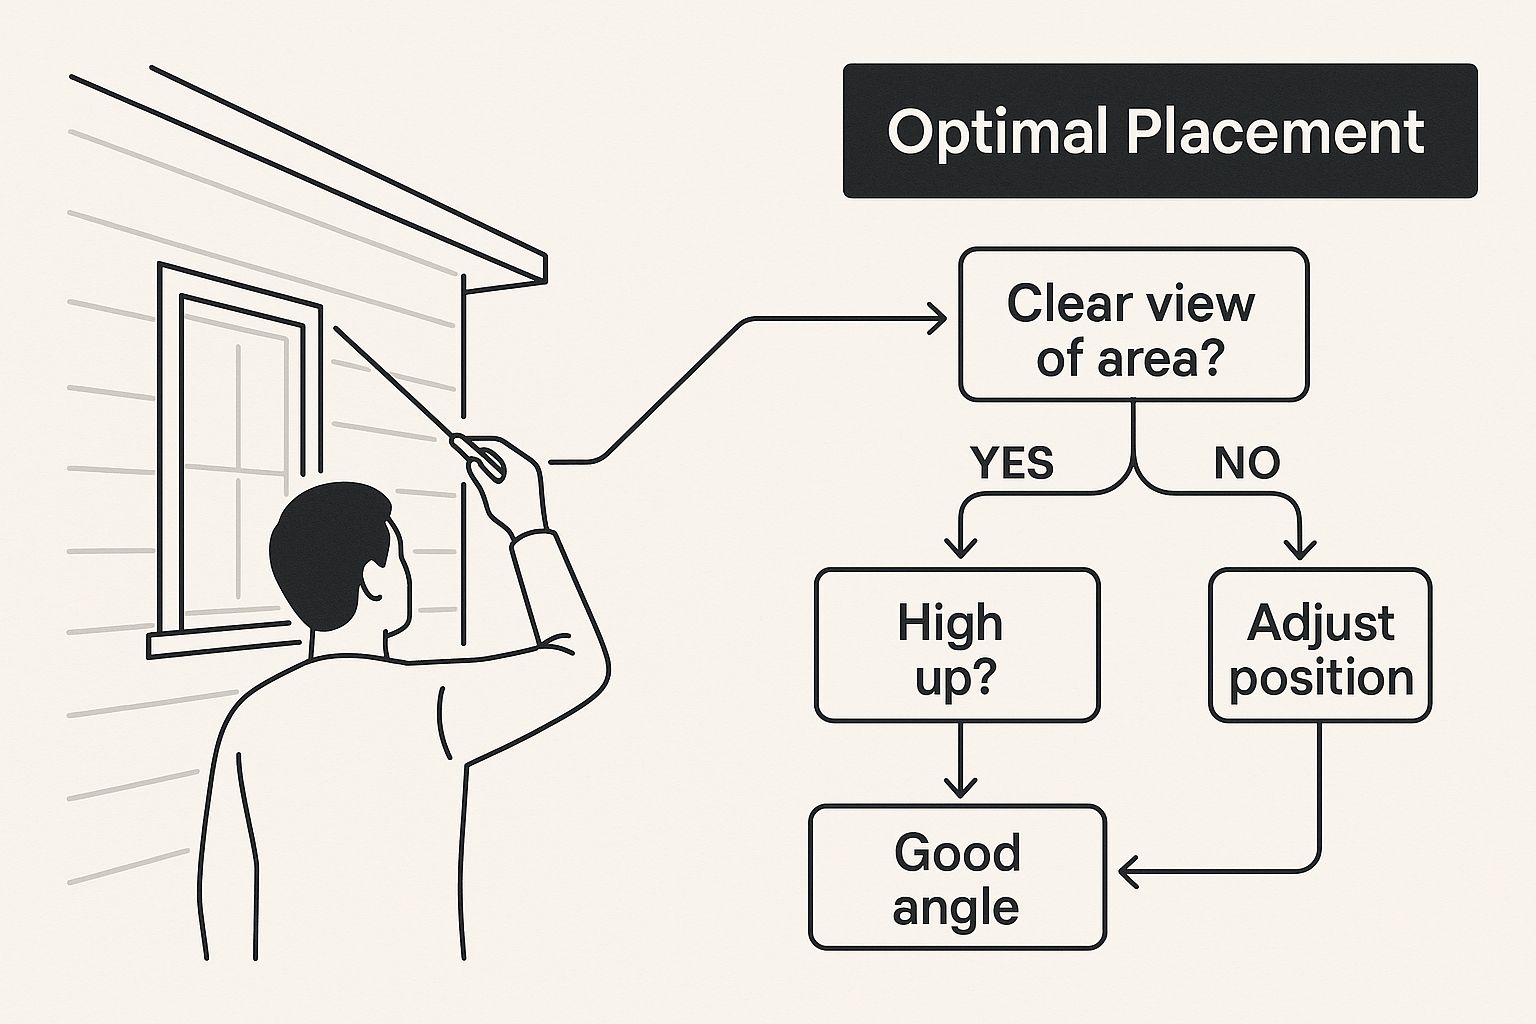
Notice how the cameras cover the approaches to the house, not just the doorways themselves. This is a pro tip—it lets you capture someone's activity long before they ever reach your door. For a really deep dive into the whole process from start to finish, this DIY home security system installation guide is an excellent resource.
Choosing Between Wired And Wireless Systems
One of the biggest decisions you'll make is whether to go with a wired or a wireless system. This choice impacts everything from reliability to how difficult the installation will be.
A wired system, which usually means a Network Video Recorder (NVR) with Power over Ethernet (PoE) cameras, is the gold standard for reliability. Because the cameras are physically cabled to the recorder, you don't have to worry about your Wi-Fi dropping out or a neighbor's network causing interference. It’s the setup I recommend for larger properties or for anyone who needs a rock-solid, non-negotiable connection.
On the flip side, wireless systems offer incredible flexibility. You can place cameras in spots where running an Ethernet cable would be a nightmare. The installation is usually much faster and less invasive.
A common mistake people make is thinking "wireless" means completely wire-free. Most wireless cameras still need to be plugged into a power outlet. The only exceptions are battery-powered models, but then you have to deal with recharging or replacing batteries.
To make it easier, here's a quick breakdown of how they stack up.
Choosing Your Surveillance System Wired vs Wireless
Feature | Wired System (NVR/PoE) | Wireless System (Wi-Fi) |
|---|---|---|
Reliability | Extremely high. No Wi-Fi interference. | Good, but depends on signal strength. Prone to interference or dropouts. |
Installation | More complex. Requires running Ethernet cables through walls/attics. | Much simpler. No data cables to run; just needs power and Wi-Fi. |
Camera Placement | Limited by where you can physically run a cable. | Very flexible. Can be placed anywhere with a power source and good Wi-Fi. |
Image Quality | Generally higher and more consistent. Dedicated bandwidth. | Can be excellent, but may be affected by network congestion. |
Best For | Large homes, businesses, or anyone prioritizing stability over convenience. | Renters, smaller homes, or locations where running cables is impractical. |
Ultimately, the best choice depends on your property and your priorities. Do you value bulletproof reliability or installation flexibility more?
Selecting The Right Camera For The Job
Not all cameras are built the same, and using the right tool for the job is crucial. The video surveillance market has exploded with specialized options for a reason. In 2019, the global market revenue was around USD 23.6 billion. By 2022, it had skyrocketed to USD 35 billion—that's a nearly 48% jump in just three years, all thanks to better and more varied IP cameras.
Here are the most common types and where I typically use them:
Bullet Cameras: These are my go-to for covering long, narrow spaces like a driveway or the side of a house. They're also highly visible, which is a great deterrent in itself.
Dome Cameras: When you need something more discreet or protected from tampering, domes are perfect. They're great for mounting under eaves, on porch ceilings, or indoors.
PTZ (Pan-Tilt-Zoom) Cameras: If you need to actively monitor a large, open space like a big backyard or a commercial parking lot, a PTZ is what you want. It gives you the power to look around and zoom in on anything that catches your eye.
Gathering Your Gear and Mounting the Cameras
Okay, with the plan locked in, it's time to get our hands dirty. This is the part where your blueprints and carefully chosen spots become actual watchpoints on your property. But before you even think about grabbing a ladder, a little prep work can save you a ton of headaches and make the entire installation process a lot smoother.
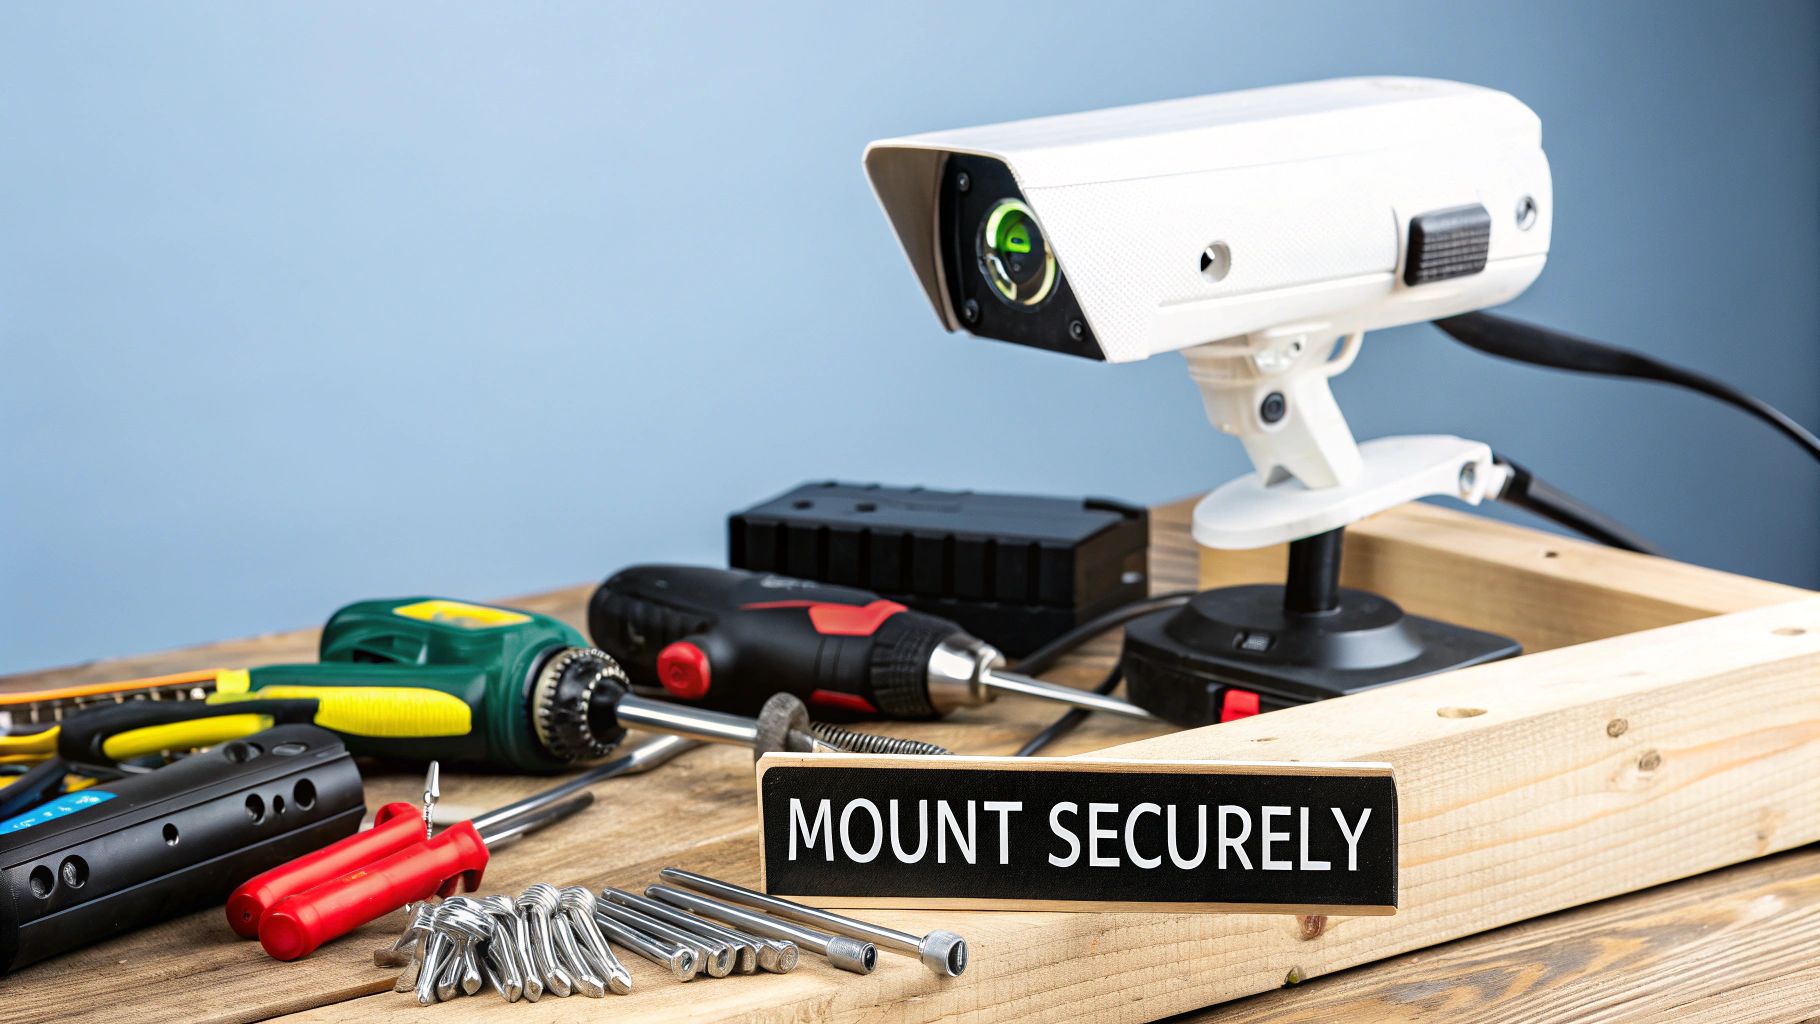
Here's a little trick I've picked up over the years: I lay out every single tool I'll need on a tarp or an old drop cloth before I start. It seems simple, but it stops me from losing tiny screws in the grass or making a dozen trips back to the garage. It just creates a clean, efficient workspace and keeps everything right where I need it.
Assembling Your Installation Toolkit
Having the right tools is completely non-negotiable if you want a clean, professional-looking job. While every installation has its own quirks, there’s a core set of tools I absolutely wouldn't start a project without.
Think of this as your must-have checklist:
A sturdy ladder: Seriously, make sure it’s tall enough to let you work comfortably without stretching. Don't risk it.
Power drill with assorted bits: You'll need different bits for pilot holes and for driving screws. If you’re mounting on brick or concrete, a good masonry bit is essential.
Fish tape or glow rods: These are absolute lifesavers for snaking cables through walls, ceilings, or conduit. For anything more complex than a basic exterior mount, you’ll be glad you have them.
Ethernet cable crimper and RJ45 connectors: If you're custom-cutting your PoE cables (which I highly recommend for a clean install), you'll need these to terminate the ends.
Basic hand tools: A solid set of screwdrivers, pliers, and a small hammer will always find a use.
And don't forget the small stuff! A stud finder is crucial for locating secure mounting points inside walls, and a level will keep your cameras from looking crooked.
Mounting Cameras for Maximum Durability
The physical act of mounting a camera is pretty straightforward, but how you do it makes all the difference in whether it'll stand up to weather and time. The camera style and the surface you're mounting to will really guide your approach.
For example, tucking a bullet camera up under an eave is a classic for a reason. This spot gives it a natural shield from rain, protecting the lens and housing from the worst of the weather. When you do this, always create a "drip loop" with the cable—just a small U-shaped dip in the wire right before it enters the wall. This simple trick uses gravity to make sure water runs down and drips off the loop instead of following the cable right into the hole you just drilled.
My number one tip for any outdoor mounting job is to weatherproof your connections. Use a dedicated junction box or, at the very least, apply a generous amount of weatherproof silicone sealant around the cable's entry point. Water is the mortal enemy of electronics, and a few minutes of prevention here will save you from major failures down the road.
Choosing The Right Hardware For The Surface
Using the wrong anchor for the surface is a classic rookie mistake that can lead to a camera sagging or, even worse, falling right off the wall. The screws and anchors that come in the box are often generic, so it really pays to have the right fasteners for your specific situation.
Here’s a quick rundown of what I use:
Drywall: For indoor mounts, always use expanding plastic wall anchors. They spread out behind the drywall, creating a much more secure hold than a simple screw ever could.
Wood or Vinyl Siding: If you can mount directly into a wooden stud or solid siding, that's your best bet. Use good-quality, weather-resistant exterior wood screws for a solid grip that will last.
Brick or Concrete: This takes a bit more muscle. You'll need to drill a pilot hole with that masonry bit I mentioned, then use specialized concrete anchors or screws to make sure the mount is absolutely rock-solid.
Getting the camera properly secured is the last big physical step before you start wiring everything up. Taking a few extra minutes here to do it right ensures your investment stays exactly where you put it, keeping an eye on your property for years to come.
Running Wires and Connecting Power
With your cameras mounted, it's time to bring them to life. This is the part that can feel a bit daunting—running the cables for power and data. But with some patience and a solid plan, you can get a clean, professional finish that keeps ugly wires out of sight and protects your connections. Your approach here will hinge on whether you went with a wired or wireless system.
For a wired Power over Ethernet (PoE) system, you're running a single Ethernet cable to each camera. This one cable handles both power and the video signal, making it the gold standard for reliability. It’s more work upfront, but the stability is worth it.
Wireless systems, on the other hand, connect to your network via Wi-Fi, but don't forget—every camera still needs power. This means you’ll be managing power cords instead of Ethernet cables.
Mastering The Art of Cable Routing for PoE Systems
The goal when you install a surveillance camera system with PoE is to make the cables disappear. This usually means navigating through attics, crawlspaces, or inside walls. This is where tools like fish tape or glow rods become invaluable; they let you snake wires through hidden spaces without needing to tear up your drywall.
I typically start by drilling a small entry hole near the camera's mounting spot and a matching exit hole inside, usually leading into the attic or basement. From that point, you can carefully guide the Ethernet cable all the way back to your central Network Video Recorder (NVR).
Here are a few pro tips I've picked up over the years for a clean job:
Drill from the outside in, and aim slightly upward. This creates a natural downward slope for the cable, which helps prevent rainwater from wicking its way into your home.
Look for existing pathways. You can save a ton of time and avoid needless drilling by following the routes of existing electrical or coaxial cables.
Bundle and label everything. As you pull each cable back to the NVR, use zip ties to keep things tidy and slap a label on both ends. Trust me, this will save you a massive headache later during setup and troubleshooting.
A classic rookie mistake is pulling cables too tight around corners or using staples that crimp the wire. This can easily damage the delicate copper pairs inside. Always leave a little slack, and use proper low-voltage cable staples that won't crush the cable’s jacket.
This careful approach is what ensures your system stays dependable for years. It's this kind of robust setup that's driving major market growth; the global CCTV camera sector is expected to jump from USD 59.64 billion in 2025 to an incredible USD 234.11 billion by 2034. This surge is all about people wanting high-performance systems for their homes and businesses. You can read the full research about these market projections to see where the industry is headed.
Managing Power for Wireless Cameras
The term "wireless" can be a little deceptive. While the cameras send video over Wi-Fi, they almost always need to be plugged into a power outlet. So, your main challenge isn't running data cables, but figuring out how to manage the power cords cleanly. You have to make sure each camera spot has access to an outlet and, just as importantly, a strong Wi-Fi signal.
Before you permanently mount anything, pull out your smartphone and test the Wi-Fi signal strength right where you plan to install the camera. If it's weak, you might need to add a Wi-Fi extender or a mesh node to get a stable connection.
When it comes to hiding that power cord, you’ve got a few options:
Use cable clips or raceways. These are adhesive-backed channels that can run along baseboards or door frames to neatly conceal the cord.
Drill through the wall. If there’s an outlet right on the other side of the wall, a small hole lets you plug the camera in from the inside, hiding the wire completely.
Install a new outlet. For the absolute cleanest look, a licensed electrician can install a new outlet right near the camera, eliminating any visible wires.
No matter which type of system you have, the final step is hooking everything up. For a PoE system, you'll plug each Ethernet cable into the back of your NVR. For a wireless setup, you'll power up each camera and connect it to your Wi-Fi network using its app, which we’ll dive into next.
Bringing Your New Camera System to Life
Alright, the hard part is over. Your cameras are mounted, the cables are neatly run, and everything's plugged in. Now it's time for the magic: firing up the system and getting it configured so you can actually see what’s going on. This is where we turn a box of hardware into a security tool you can access from anywhere.
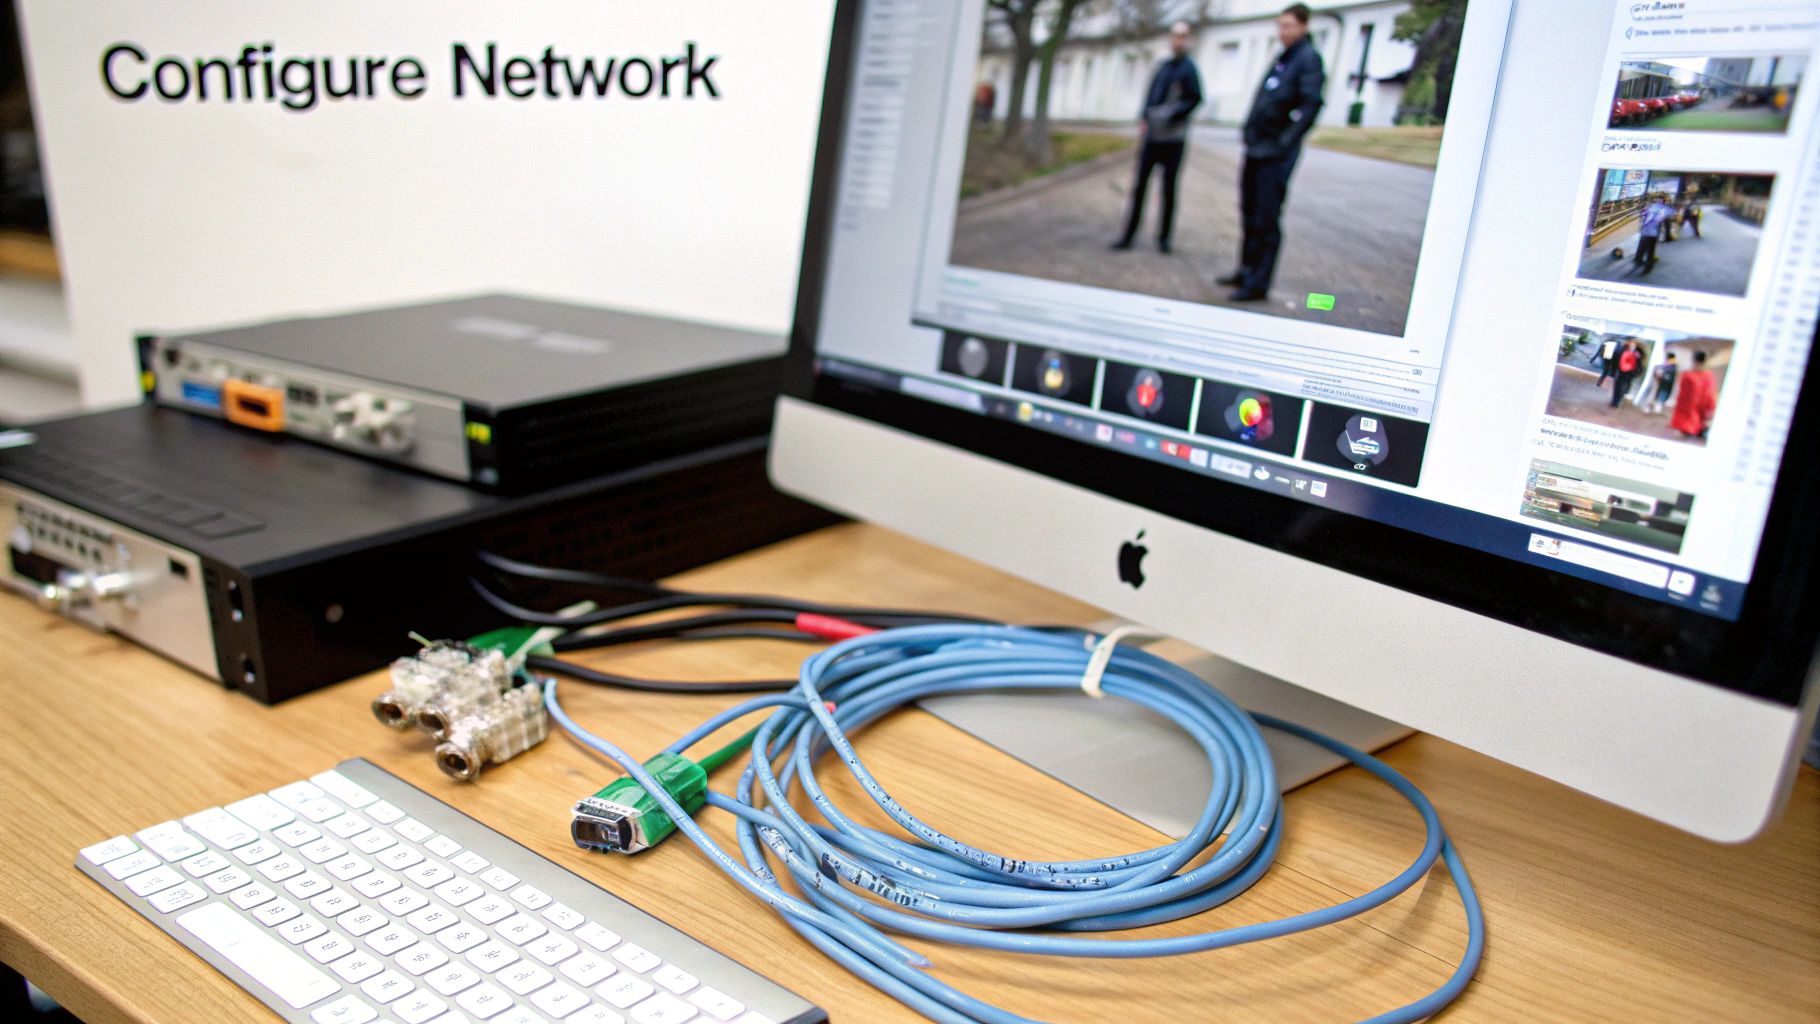
First things first, let's get the brains of the operation—your Network Video Recorder (NVR) or Digital Video Recorder (DVR)—powered up. Grab an HDMI or VGA cable to connect it to a monitor, plug in the mouse that came with it, and use an Ethernet cable to hook it up to your router. When you switch it on, you'll be greeted by a startup wizard. It's going to walk you through the basics like setting the date and time, and most importantly, creating a new administrator password.
The Initial Power-Up and Setup
This first boot-up process is your first line of defense. Don't just click through it. When it asks for a password, please, for the love of all things secure, create something strong and unique. Using the default "admin" or "12345" is like leaving your front door wide open.
You’ll also need to initialize the hard drive. This just means formatting it so the recorder can start saving video. Think of it like getting a brand-new notebook ready to be written in. Once that's done, your recorder will start sniffing out the cameras you've connected. In a few moments, you should see a grid on your monitor start to fill with live video feeds. This is your new command center.
Getting Connected for Remote Viewing
Let's be honest, the real reason you got a modern system is so you can check on things from your phone, right? Thankfully, this is easier than ever. Most systems today use a P2P (Peer-to-Peer) connection, which sounds technical but basically means you don't have to be a network engineer to get it working.
It usually boils down to just a few simple moves:
Turn on P2P: Dive into your recorder's network settings menu and look for an option called P2P or "Easy Connect." Make sure it's enabled.
Get the App: Head to the app store on your smartphone or tablet and download the manufacturer’s official app.
Scan the QR Code: Back on your monitor, in those same network settings, you’ll find a QR code. Open the app on your phone, choose to add a new device, and just point your phone's camera at that code.
And that’s it. The scan creates a secure handshake between your recorder and your phone. You can now pull up live video, review past recordings, and tweak settings from literally anywhere with an internet connection.
It's this kind of seamless connectivity, powered by advancements in AI and 5G, that's pushing the surveillance market forward. The industry was valued at USD 42.40 billion in 2025 and is expected to rocket to USD 69.16 billion by 2030, with cloud services becoming a huge piece of the puzzle. For a deeper dive, check out this report on the security camera market's transformation.
Fine-Tuning Your Recordings and Alerts
Now that you're online, it’s time to customize the system to work for you. Leaving everything on default settings is a common mistake and the reason why so many people get fed up with their security systems. This is an absolutely essential part of the process when you install a surveillance camera system.
One of the biggest complaints I hear is about constant, irrelevant notifications. Customizing motion detection zones is the solution. You can draw boxes on the screen to tell the system which areas to monitor and which to ignore. For example, you can exclude a busy sidewalk to avoid alerts every time someone walks by.
Here are the key settings I always tell people to adjust right away:
Motion Detection Sensitivity: This controls how much movement is needed to trigger an alert. If a camera is pointed at your yard, you’ll want to dial this down so swaying tree branches don't set it off all day long.
Recording Schedules: You don't necessarily need to record everything 24/7. To save a ton of hard drive space, you can schedule the system to record continuously at night but only when it detects motion during the day.
Push Notifications: Decide which events you actually want to be notified about. Maybe you only want a push alert when the back door camera detects motion after 11 PM. This keeps your phone from buzzing constantly.
Last but not least, make it a habit to check for firmware updates. Manufacturers are always patching security holes and improving performance. A quick update every few months is one of the smartest and simplest things you can do to keep your system secure and running smoothly.
Testing and Fine-Tuning Your Setup
Getting a live feed on your monitor is a great feeling, but don't pack up your tools just yet. The final, and arguably most important, part of the job is putting your new system through its paces. This is where you separate a bunch of working cameras from a truly reliable security system.
So many people skip this part, only to find a massive blind spot or a camera that isn't recording after something happens. Trust me, spending an extra hour now to check everything will give you real peace of mind, knowing the system will do its job when it counts.
Conducting a Full System Audit
First things first, pull up the grid view of all your cameras. Go through them one by one, and don't just look for a picture—look for the right picture.
Is the image sharp? Is the focus dialed in, or is it a little soft? During the day, check the color. If a camera is pointing too close to the sun, the image might look washed out. Sometimes, a tiny shift in the angle is all it takes to fix that glare.
I can't tell you how many times I've seen a perfectly installed camera aimed just a few degrees too high, capturing more of the sky than the walkway it was meant to protect. Double-check that the field of view is actually covering your intended target area. It's a small detail that makes a huge difference.
This initial once-over is your chance to spot any glaring issues before you start digging into the software settings.
Stress-Testing Key Features
Once you know every camera is sending a clear, well-aimed feed, it's time to test the brains of the operation. The two big ones are almost always night vision and motion detection.
For night vision, you have to wait until it's actually dark outside. Check each camera's feed and make sure its infrared (IR) LEDs kick on and properly light up the area. Be on the lookout for bright hot spots. A white soffit or a nearby wall can sometimes reflect the IR light right back into the lens, completely washing out the image. If you see this, you may need to reposition the camera slightly.
Testing motion detection requires you to be the main character. Walk through each camera’s designated motion zone. Try walking at different speeds and at different distances from the camera. Did your phone buzz with a push alert? Did the system correctly flag the event on the timeline? This is the only way to know if your sensitivity is set too high (picking up swaying trees) or too low (missing actual movement).
Don't forget to review the recordings themselves. Play back a few minutes of footage from every camera. You're looking for trouble signs like:
Stuttering video or dropped frames: This often points to a weak network connection for that specific camera.
Pixelation or weird visual artifacts: Could be a sign of a bad cable or a loose connector.
Gaps in the recording timeline: This might signal an issue with your hard drive or a misconfiguration in your recording schedule.
Fine-Tuning for Optimal Performance
Now you have a list of little things to fix. This is the fine-tuning that dials in your system for peak performance. If a camera angle is off, get back on the ladder and give it a nudge. If you're getting bombarded with motion alerts from a busy street, go back into the software and carefully redraw your motion zones to exclude it.
This final checkup ensures everything is working in harmony. Before you call the project done, run through this quick list one last time to make sure you've covered all your bases.
Post-Installation System Checkup
This checklist is your final validation before officially completing your project to install a surveillance camera system. It’s a quick way to confirm that every component is performing exactly as it should.
Check Item | What to Look For | Action if Fails |
|---|---|---|
Live Video Feed | Sharp focus, accurate colors, and correct field of view for all cameras. | Physically adjust the camera angle or focus ring. |
Night Vision | Clear, well-illuminated black-and-white image in total darkness. | Check for IR reflection sources and reposition the camera if needed. |
Motion Alerts | Timely and accurate push notifications for real events. | Tweak motion sensitivity settings or adjust detection zones. |
Recording Playback | Smooth, uninterrupted video with no glitches or missing segments. | Inspect cable connections and check hard drive health status. |
Remote Access | Ability to view live and recorded video from your mobile app. | Verify your NVR/DVR is connected to the internet and P2P is enabled. |
Once every item on this list gets a pass, you can be confident that your security system is fully operational and ready to go.
Got Questions About Your Camera Setup?
Let's be honest, even the most straightforward camera installation can leave you scratching your head. You've got the hardware, you've got a plan, but now the real-world questions are starting to surface.
This is totally normal. From navigating legal gray areas to troubleshooting a stubborn Wi-Fi signal, here are the answers to the questions we hear most often.
Where Can I Legally Point My Cameras?
This is probably the most critical question to ask, and the answer is a hard yes—there are definitely legal lines you can't cross. Your right to security doesn't trump someone's reasonable expectation of privacy. That means you absolutely cannot place cameras in areas like bathrooms, changing rooms, or a guest's bedroom.
Audio recording is a whole other minefield. Many states have strict "two-party consent" laws, which make it illegal to record audio unless everyone in the conversation agrees to it. Because of this, most pros will tell you to just disable the audio recording feature on your outdoor cameras. It's just not worth the legal risk.
Before you drill a single hole, do a quick search for "video surveillance laws in [your state]." It's the best way to avoid a massive headache later. As a general rule, keep your cameras focused squarely on your own property and make a real effort to avoid your neighbor's windows or backyard.
My Wi-Fi Signal Won't Reach My Camera. Now What?
Ah, the classic wireless camera problem. You've found the perfect spot to mount a camera, but the Wi-Fi signal is just too weak, causing frustrating video dropouts. Don't worry, this is a common issue with a few solid solutions.
Wi-Fi Extender: This is usually the quickest and easiest fix. An extender (or repeater) grabs your existing Wi-Fi signal and rebroadcasts it, pushing it further out. Just place it about halfway between your router and the camera.
Mesh Wi-Fi System: If you have several dead zones around your property, a mesh network is a game-changer. It uses a series of small "nodes" placed around your home to create a single, seamless Wi-Fi blanket, killing dead spots for good.
Powerline Adapter: These gadgets are pretty clever. They use your home's own electrical wiring to carry your internet connection. You plug one adapter into an outlet near your router and another near your camera, giving you a stable, wired-like connection without running a new cable.
Before you buy anything, grab a Wi-Fi analyzer app on your smartphone. Walk out to the proposed camera location and get a real measurement of the signal strength. Knowing the numbers will help you pick the right tool for the job.
Can I Use Cameras From Different Brands Together?
Technically, you can, but you probably shouldn't. It often creates more problems than it solves.
Many modern cameras are built to be ONVIF (Open Network Video Interface Forum) compliant, a standard that helps devices from different manufacturers talk to each other. In reality, though, it’s rarely a plug-and-play experience.
When you stick to a single brand, you know for a fact that every camera will work perfectly with your NVR or DVR. All the software and hardware were designed to function as a seamless system. Once you start mixing brands, you might discover that cool features like AI-driven alerts or specific motion detection zones simply don't work on the odd-one-out camera. For a reliable system with all the bells and whistles intact, a single-brand setup is the way to go.
At PCI Audio-Video Security Solutions, we've seen it all and know how to design a security system that’s robust, reliable, and perfectly suited to your property. If you want to make sure your system is installed right for total peace of mind, get in touch with our experts today.
Comments